New Microbit Version 2
I just bought Microbit V2 with new improvement. The Microbit has new features that makes it different with the old version. It adds with built-in speaker and microphone, so it can react for playing sound.
For more information about this Microbit, see this link.
For all features in Microbit, refer to this link.
 |
| Front View |
 |
| Back View |
Microbit for LED Blink Project with and without Keyestudio Extension
Keyestudio Microbit Sensor V2 shield
USB Cable
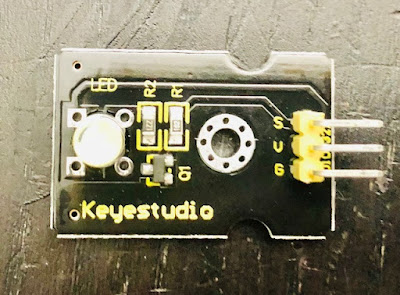
Keyestudio Digital White LED Module
Female-female jumper wires (3)
We already knew that Microbit has 25 (5x5) LEDs display on it. Now, by using Keyestudio Digital white LED Module and Microbit sensor V2 shield, we can control LED to blink, too.
First step is turn off the LEDs on the Microbit.
First step is turn off the LEDs on the Microbit.
Materials you need:
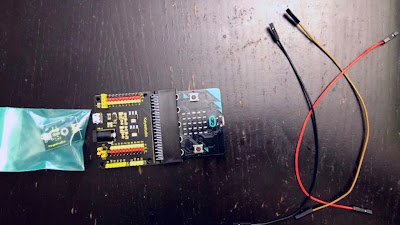
MicrobitKeyestudio Microbit Sensor V2 shield
USB Cable
Keyestudio Digital White LED Module
Female-female jumper wires (3)
Keyestudio Digital White LED Module
This LED Module can be used for light interactive projects. The spec of this module are:
Type: Digital
PH2.54 socket
Size: 30*20mm
Schematic:
How to:
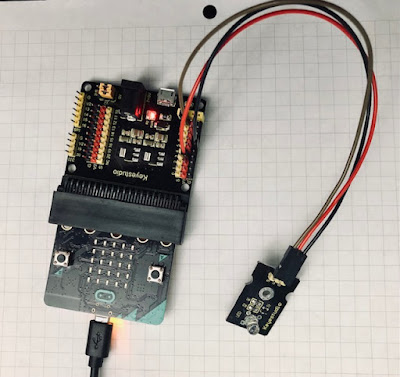
Put Microbit into Keyestudio Microbit Sensor V2 shield. Plug LED module to Microbit Sensor shield. By using jumper wires, connect as follows:
1. Pin S in LED module to pin 9 in Signal in Sensor shield.
2. Pin + in LED module to Pin V1 in Sensor shield.
3. Pin - in LED module to Ground in Sensor shield.
Put Some Codes
Construct codes using Block Code through Microsoft Makecode.
Here I share my code in Makecode:
https://makecode.microbit.org/_7g5gwe8z5Cpz
Test the Code
Now plug the USB cable to Microbit and the result is LED will blink twice with sleep interval 1.5 seconds, and it always repeats.
Other project version without Keyestudio Extension
Without extension, pins that can be used in Microbit are pin 0, 1, and 2. so the different with the code is change the pin number. Previously, we use pin 9. Now, change it to pin 0. The rest of the code is the same with the project above.
How to Cook Gado-Gado (Indonesian Salad)
Gado-gado is a dish originated from Jakarta, a city in Indonesia. It is like a salad with peanut sauce as a dressing sauce. Usually, it accompanies with lontong (rice cakes) or rice, whichever you like.
For I live far from my home country, Indonesia, in this recipe, I will share how to cook gado-gado with minimal ingredients, but I promise even with minimal ingredients, we still could make this dish.
This time, I will share how to cook gado-gado. Do you know what gado-gado is?
Gado-gado is a dish originated from Jakarta, a city in Indonesia. It is like a salad with peanut sauce as a dressing sauce. Usually, it accompanies with lontong (rice cakes) or rice, whichever you like.
It contains lots of vegetables, such as potato, cucumber, green bean, cabbage, bean sprout, kangkung (watercress), hard-boiled egg, etc.
For I live far from my home country, Indonesia, in this recipe, I will share how to cook gado-gado with minimal ingredients, but I promise even with minimal ingredients, we still could make this dish.
Here are the ingredients:
PeanutsShallots
Garlic
Potato
Kangkung (watercress)
Kangkung (watercress)
Tofu
Some water
Sugar
Salt
How to cook:
Making the peanut sauce
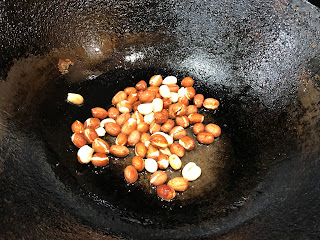
In the wok, fried peanuts with little oil and medium heat. Try not to overcook the peanut. Set aside.
Blend the peanut in the food processor with some water, garlic, and sugar. After soft and incorporated, put the peanut sauce on the plate.
Cooking the Vegetables
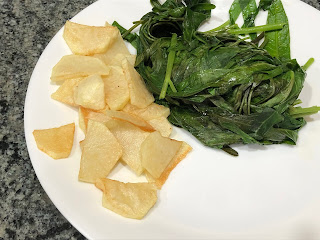
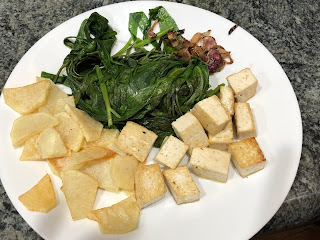
Boil the kangkung (watercress) in the water for about 2-3 minutes. Set aside. Grab the potato. Peel and slice thinly. Fry the potato into the hot oils and remove it from the heat. Set aside.
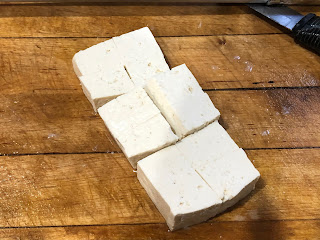
Rinse the tofu and cut into small pieces. Fry the tofu in the wok with some hot oils. Remove from the heat and set aside.
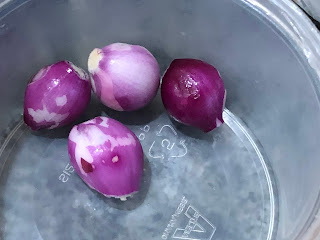
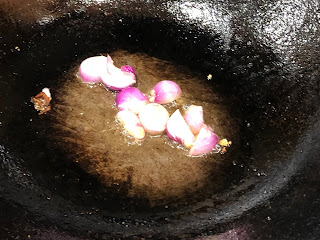
Peel some shallots and slice thinly. Fry them in the wok.
Assemble all the food
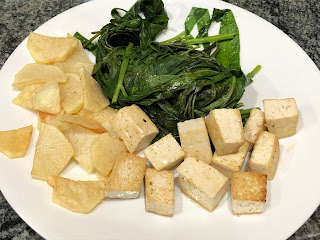
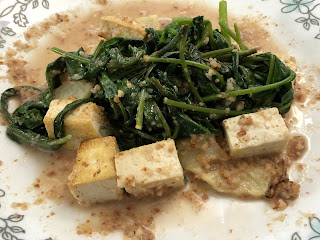
Assemble all the food on the plate. Do not forget to add some salt to the peanut sauce. Mix it well.
Food finished
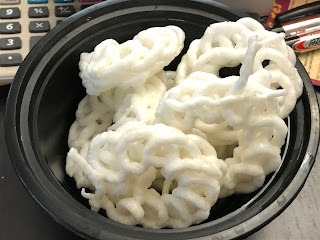
Here is the final result of the cooking. To make our recipe more complete, we usually add with some tapioka crackers for the side dish.
Micro:bit Overview Guide for Beginner
1. Button
What is Micro:bit?
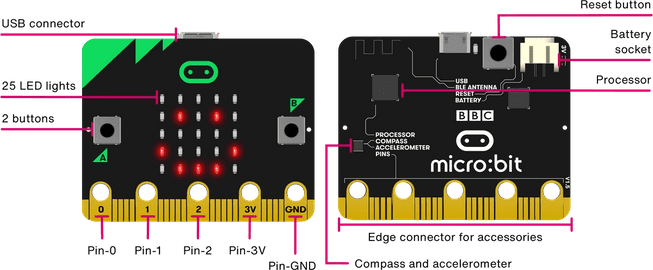
Micro:bit is a mini component that has a size of a pocket, which initiates hardware and software work together to make some projects.
Here is the Micro:bit display:
 |
| Source: microbit.org |
Micro:bit Features
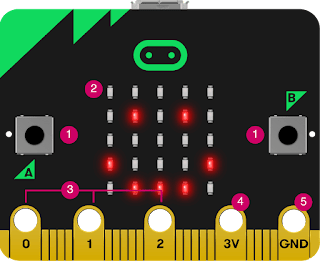
Front View:
 |
| Source: microbit.org |
1. Button
There are 2 buttons in Micro:bit in front features, which are button A and B. It can be used separately or combined to make Micro:bit working.
2. LED Display
There are 25 LEDs that in 5 x 5 grid. It can show images, numbers, and words. The LED display can also sensor light into the Micro:bit
3. Pins - 0, 1, 2
This is a pin for general purpose input-output (GPIO).
4. Pin - 3V
This is a pin for 3 Volt power to power electronics and external LED.
5. Pin - GND
This is a pin for ground.
Back View:
 |
| Source: microbit.org |
1. Radio & Bluetooth antenna
It can connect with other Micro:bit using Bluetooth and can also communicate by radio.
2. Processor & temperature sensor
Processor is the brain of the Micro:bit. It executes instructions. Moreover, it has a temperature sensor for measuring environment's temperature.
3. Compass
It measures magnetic field in 3 dimensions.
4. Accelerometer
It measures forces in 3 dimensions and gravity, so it can react when shaking or moving.
5. Pins
See pins description in the front view above.
6. Micro USB socket
This USB socket is used to power and download the code to Micro:bit from computer.
7. Single red LED
The LED will be flashed when downloading a program to Micro:bit.
8. Reset Button
This button is for reset or restart the Micro:bit.
9. Battery Socket
This socket for powering Micro:bit instead of using computer power.
10. USB interface chip
It is a interface chip for sending and receiving serial data to and from computer.
Code in Micro:bit
For Coding in Micro:bit, there are many editors can be used.
A. Microsoft Makecode
It is very simple and easy to start coding in Microsoft Makecode. It is online and free to use, just signing up. It uses block in coding and very beneficial for beginner. You drag and drop block to the editor or you can change the code in JavaScript language.
 |
| Source: microbit.org |
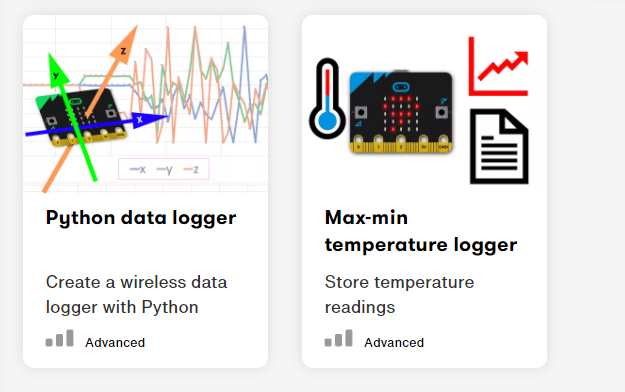
B. Python
You can make code for Micro:bit by using Python. It is best usage for deepen knowledge about programming language. You do not have to download python. It can be done through online.
 |
| Source: microbit.org |
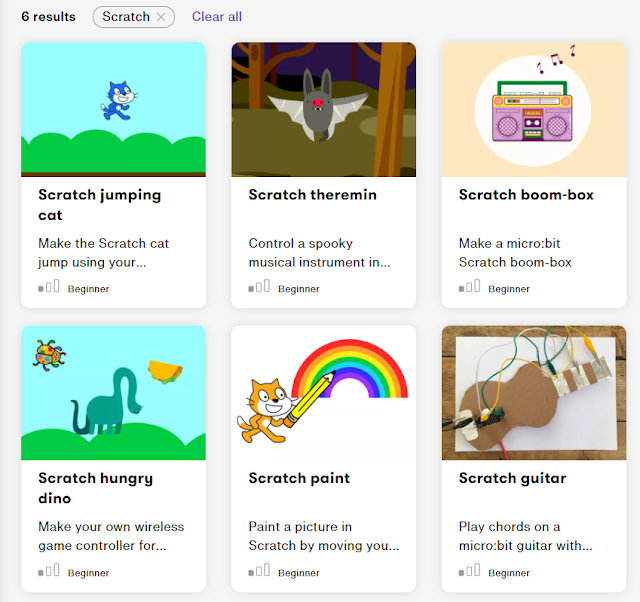
C. Scratch
Other way to code the Micro:bit is by using scratch. You need to install the scratch to your computer that has a Bluetooth . Scratch is best use for children and adult, too.
 |
| Source: microbit.org |
D. Tinkercad
Now Tinkercad also offer coding the Micro:bit by drag and drop the component of Micro:bit and other electronic components to the work area. Moreover, you can use block code similar to Makecode and download your code to Micro:bit. For more information, click Tinkercad Blog.
Related projects of Micro:bit using Makecode block code:
For more information about Micro:bit projects and other features, visit: Microbit.org
Ramekin Pizza Noodle
Pizza is not my ancestor's dishes. By the way, my ancestor is from Asia. So many ingredients in the pizza that made me not fond of eating pizza, such as pepperoni and tomato sauce. Therefore, pizza is not one of the favorite foods in my family. After quite some searching and learning, turn out there are lots of varieties in making pizza.
This time, I try to make pizza with some ingredients that my family and I love. So, I decided to experiment and collaborate for making pizza. I named it Ramekin Pizza Noodle. The most important thing is the pizza that I made tastes so good and I like it a lot. Here I share my recipe, so everyone can make and love pizza, even they do not like it before.
Ground beef
Frozen vegetable
Bacon
Sausage
White onion, sliced thin
Green onion, chopped finely
Corn oil/ vegetable oil/ canola oil
Mozzarella cheese
Soy sauce
Salt
Sesame oil
Black pepper
Ingredients:
NoodleGround beef
Frozen vegetable
Bacon
Sausage
White onion, sliced thin
Green onion, chopped finely
Corn oil/ vegetable oil/ canola oil
Mozzarella cheese
Soy sauce
Salt
Sesame oil
Black pepper
Prepare the Noodle
In a saucepan, bring water to boil. Cook the noodle in it until it cooks through. Put the noodle on the bowl. Set aside.
Sauté the Beef
In a large wok, put some oils over the medium heat. Add onion. Stir fry until onion become yellowish and fragrant. Add ground beef.
Cook it until the beef is no longer pink. Add soy sauce, salt, black pepper and sesame oil. Stir until all combined. Bring out and place it into the bowl. Set aside.
Prepare the Dish
To prepare the dish, you need to make layer of ingredients.
Layer 1 Noodle
Get some ramekins ready. I use 6 ramekins to make this dish. Fill the ramekin with some noodles, but not too much.
Layer 2 Beefs
Put some beef on the top of noodles.
Layer 3 Vegetables
Add some vegetable to the ramekins. I made some variations. There are with and without vegetable variations.
Layer 4 Bacons
Cut the bacon into small pieces as you like and add them to the ramekins as you desire.
Layer 5 Sausages
Slice the sausages thinly. Add them to the ramekins.
Layer 6 Green Onions
Add some green onions as you want. This is optional.
Layer 7 Mozzarella Cheese
Add some Mozzarella Cheese.
Baking
Preheat the oven 350 degrees Fahrenheit. Get the baking sheet ready. Put the ramekin to the baking sheet. Bake them on the oven for about 10 minutes or until cooked through.
Pizza is Ready
After 10 minutes, take the pizza out of oven. Wait until it is cool enough and eat it!
Final Result
Here are the results of the Pizza Noodle in Ramekin. Thanks for reading my instructable.
Enjoy your meal!
Bon Appétit ---- Buon Appetito!


